

In This Post:
A couple months ago, I noticed a new feature in my AWS Application Load Balancer configurator: Authenticate.
I didn't think much about it until a few weeks later, when I casually suggested to my teammate that he just authenticate at the load balancer to secure a service he was setting up. "What do you mean 'authenticate at the load balancer'?" he asked me. Oh. Yea. Huh. What DO I mean "authenticate at the load balancer?"
But our use case was slightly different. We were trying to limit access to internal resources hosted publicly in AWS--resources which might traditionally live behind a VPN--to our discrete set of users.
Previously, we controlled access to these resources via a third-party service that enforced multi-factor authentication (an essential component for us, due to PCI requirements). It dynamically managed iptables rule sets on each of our instances. This inelegant solution was problematic for a number of reasons, not least of all the extreme high cost we paid for a slow and buggy service.
By enabling authentication via our Google SAML domain at the application load balancer, we shift the responsibility for multi-factor validation to Google. After Google validates a user's identity, the user may then authenticate with the underlying service's authentication system (eg: a WordPress admin interface, an internal/private wiki or ticketing system, etc). In this way, the solution is analogous to enabling a VPN service before accessing an internal service or resource.
In the end, this turned out surprisingly easy to configure:
- Define Cognito User Pool
- Define Google SAML App Integration using values from the Cognito Pool
- Configure Cognito User Pool App Client Settings and Attribute using values from SAML provider
- Configure Load Balancer to use Cognito User Pool
But let's take a closer look.
Define Cognito User Pool
1. Navigate to https://console.aws.amazon.com/cognito/users/
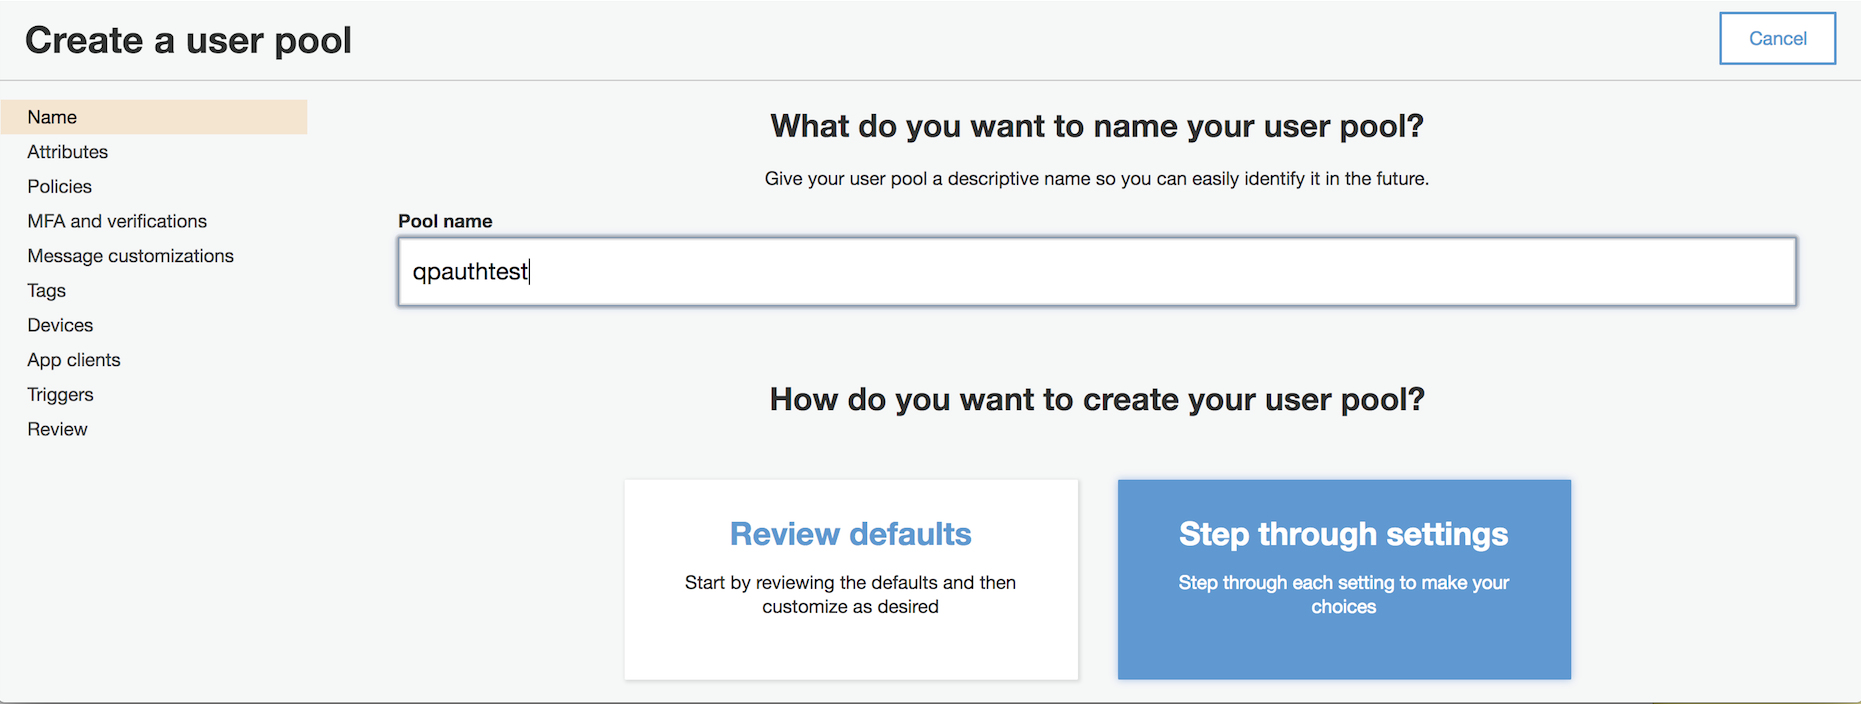
2. Select the region where your load balancer lives, and then Click "Create a user pool."
3. Give your user pool a descriptive name, then click "Step through settings."
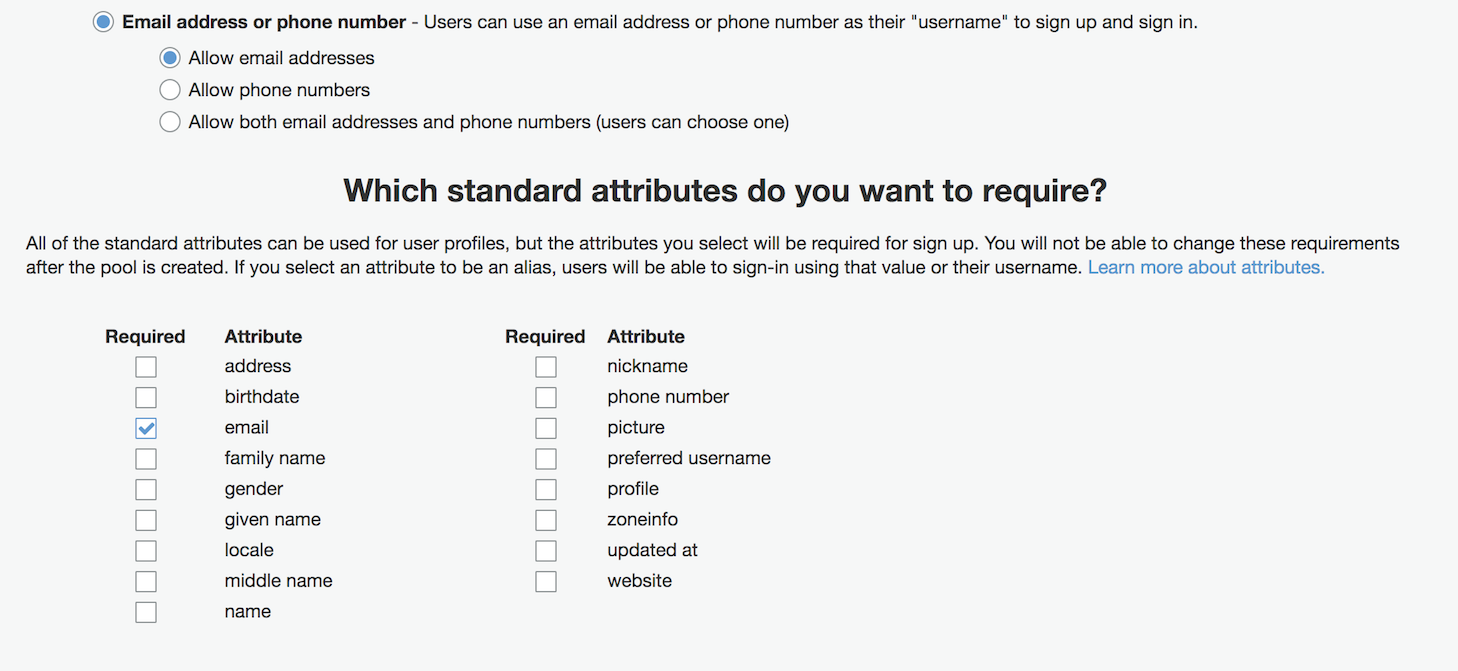
4. In Attributes, select the "Email address or phone number" and "Allow email addresses" radio buttons, and select the checkbox to require the "email" attribute.
5. Define Tags as appropriate for your environment.
6. In Devices, choose whether or not to remember your user's devices.
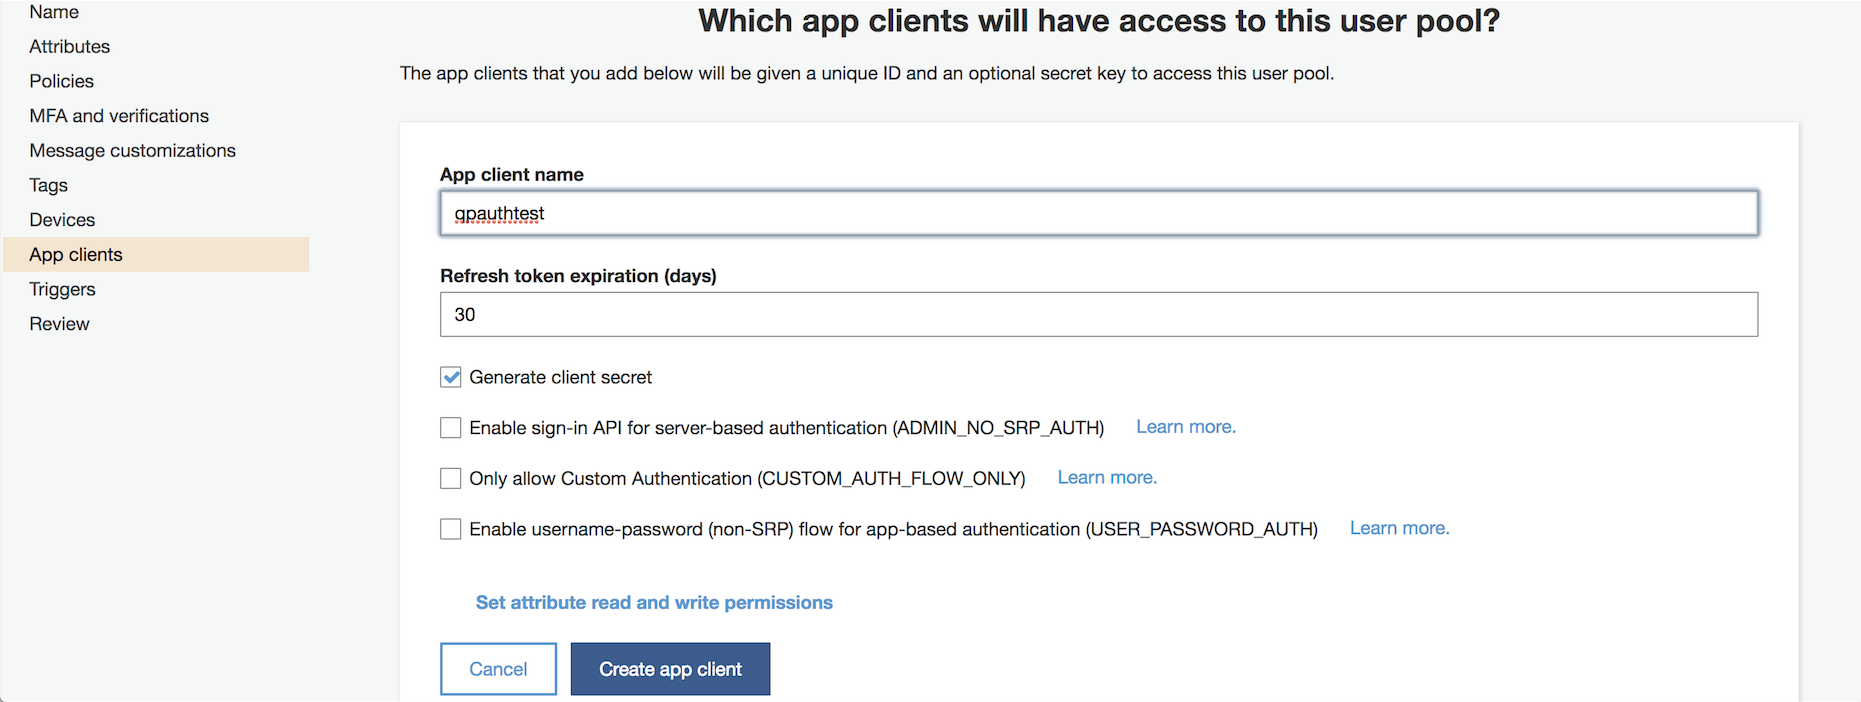
7. In App clients, click "Add an app client." Give your App client a name -- I use the same name as my pool, for simplicity -- and click "Create app client."
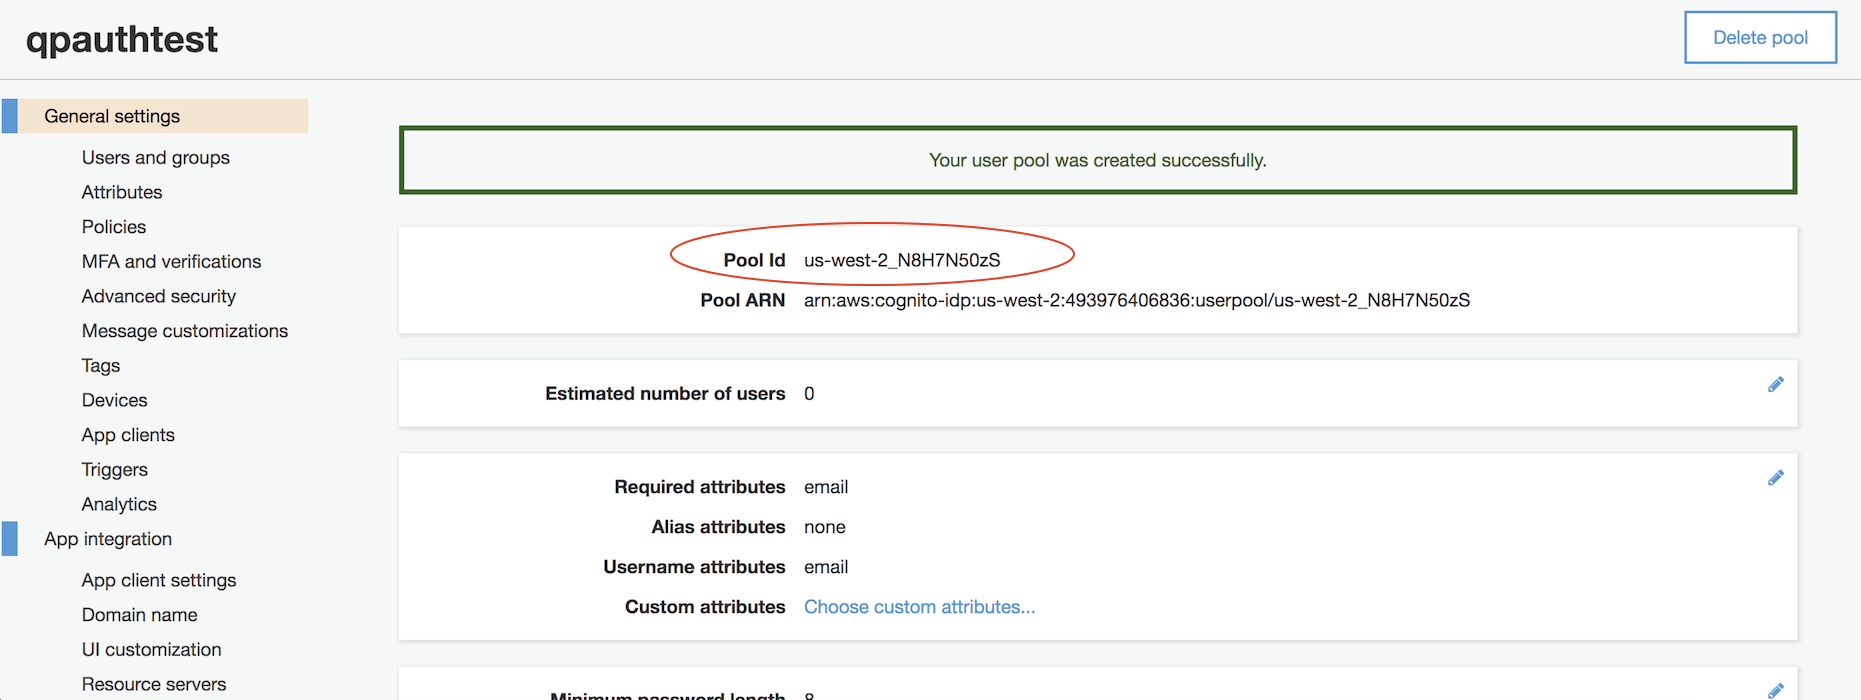
8. Review the settings, and then click "Create pool."
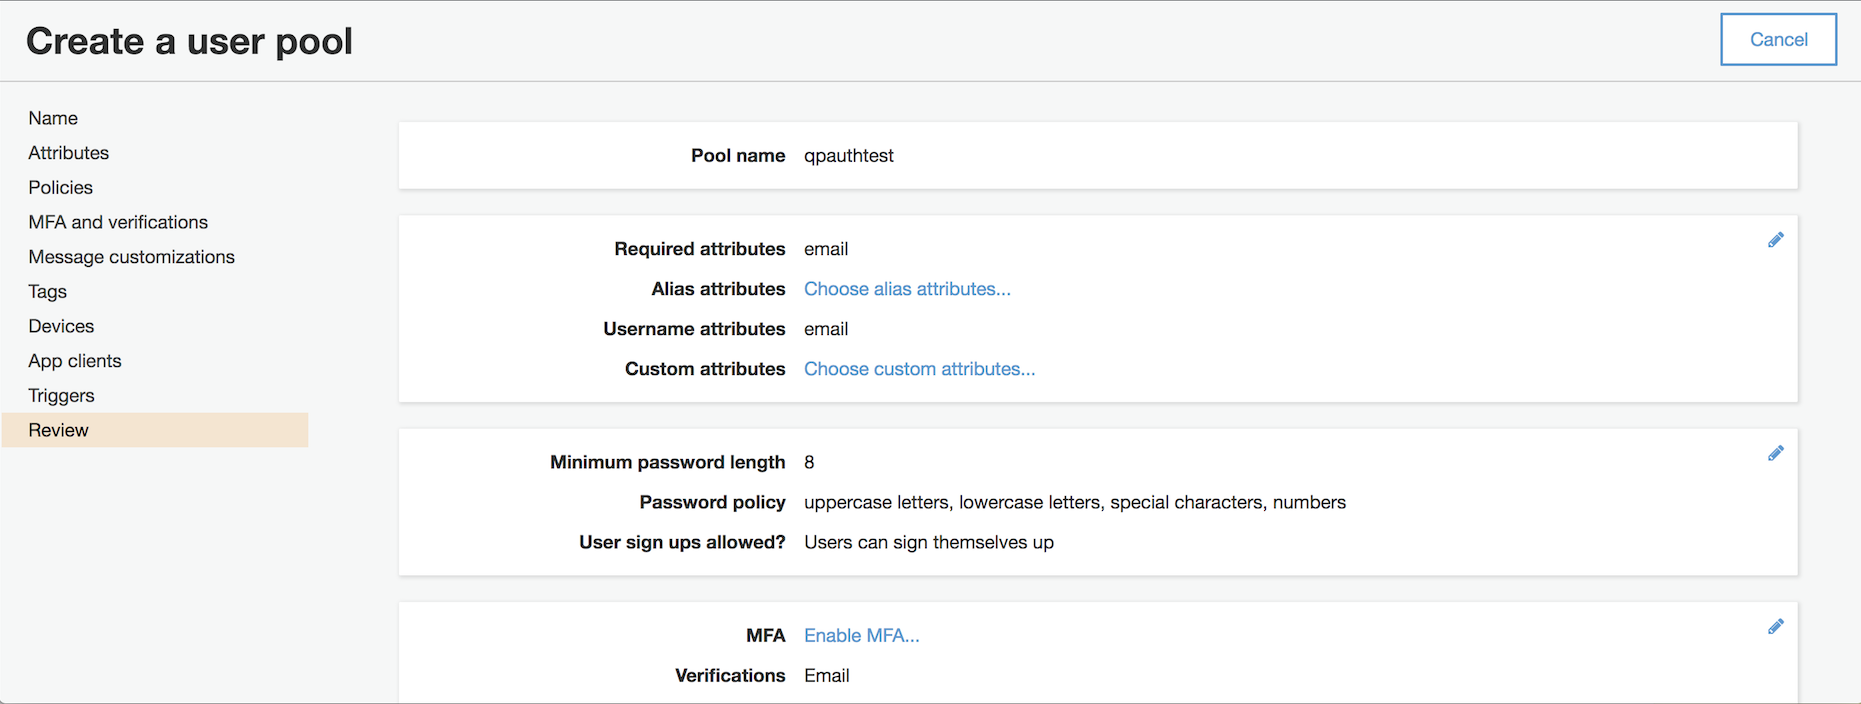
9. Make a note of your "pool id" -- eg: us-west-2_N8H7N50zS -- you'll need to provide it to google.
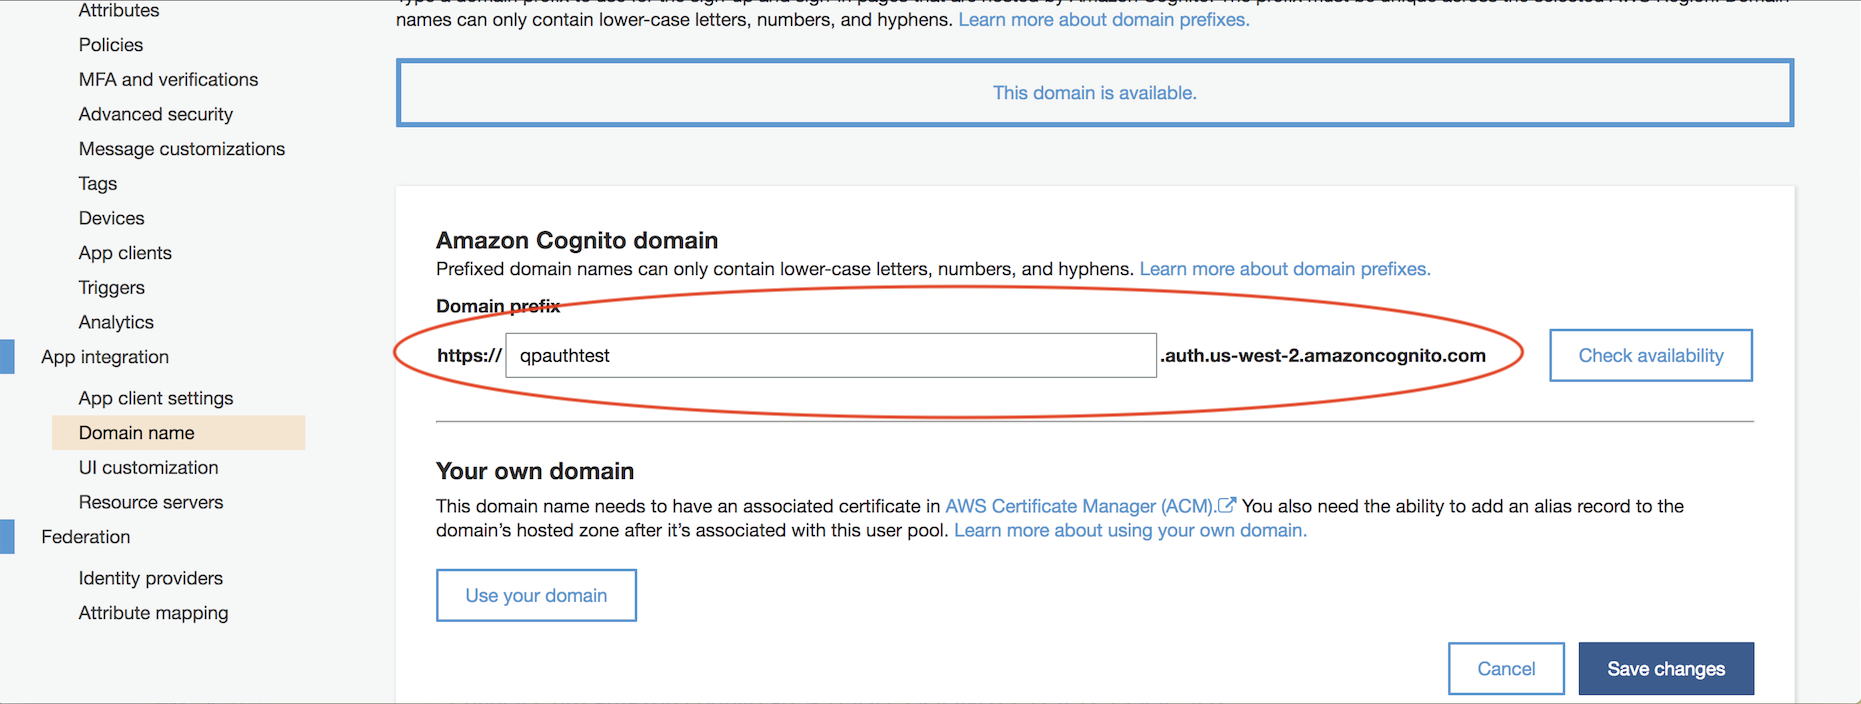
10. Under App integration, select Domain name. Choose a domain name -- again, I use the same name as my pool, for simplicity -- and click "Check availability." Make changes as necessary until you are able to click "Save changes."
Make a note of the full domain name you've chosen -- eg: https://qpauthtest.auth.us-west-2.amazoncognito.com -- you'll need to provide it to Google, also.
Define Google SAML App Integration
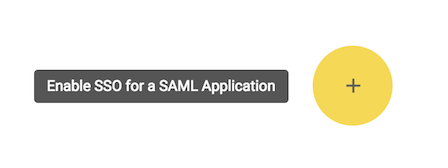
2. Click the Yellow "+" to "Enable SSO for SAML Application
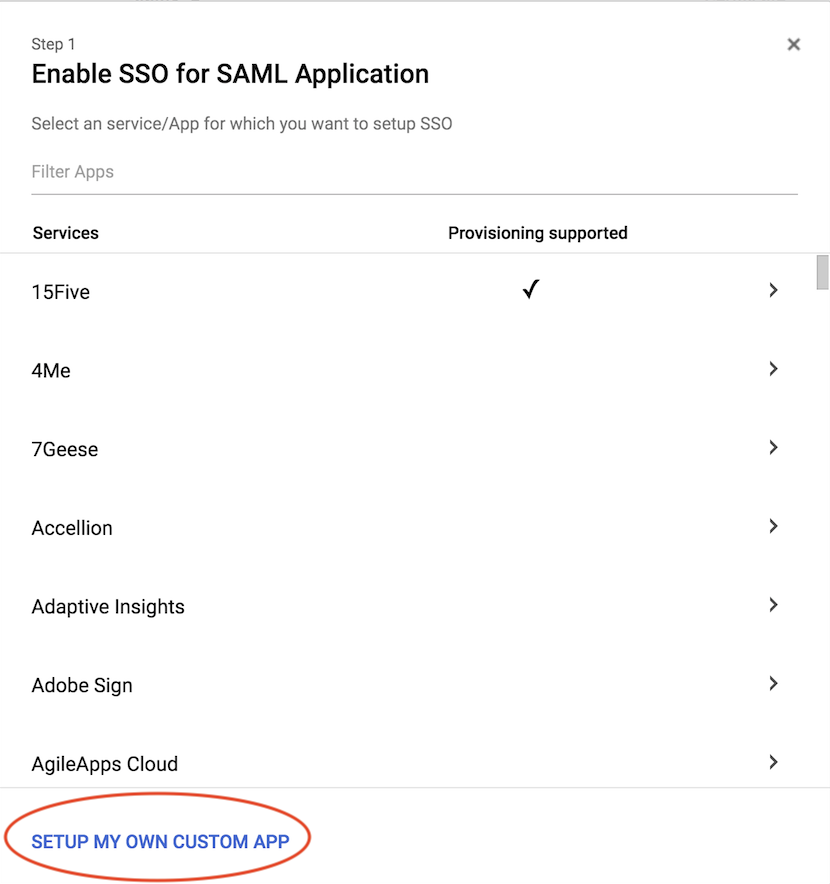
3. Click "SETUP MY OWN CUSTOM APP."
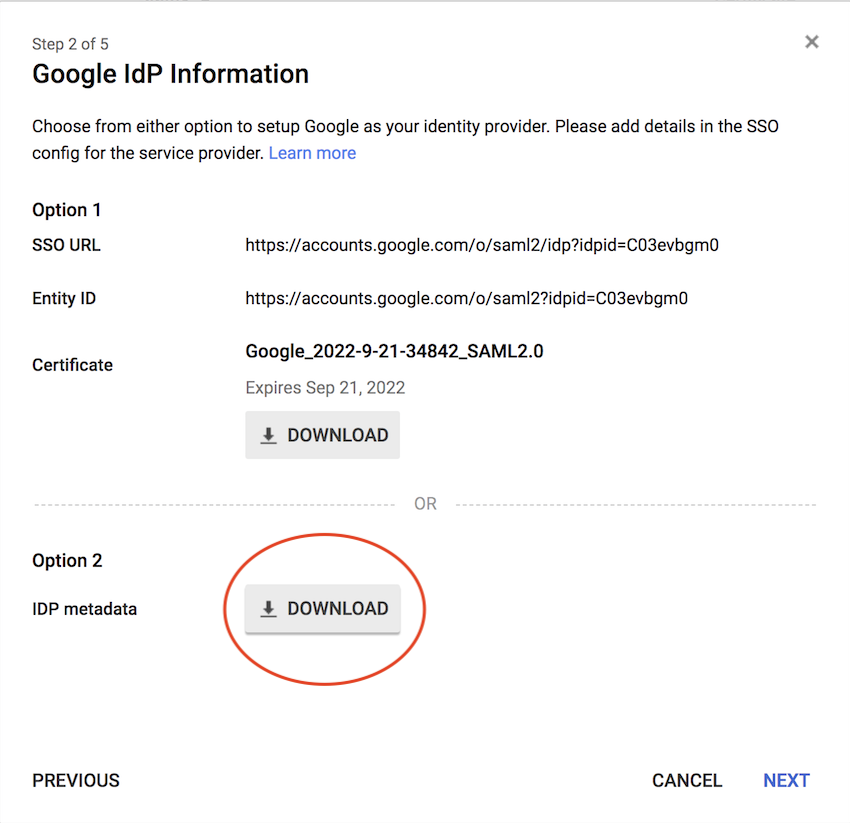
4.Choose Option 2 and download the IDP metadata file and click "Next."
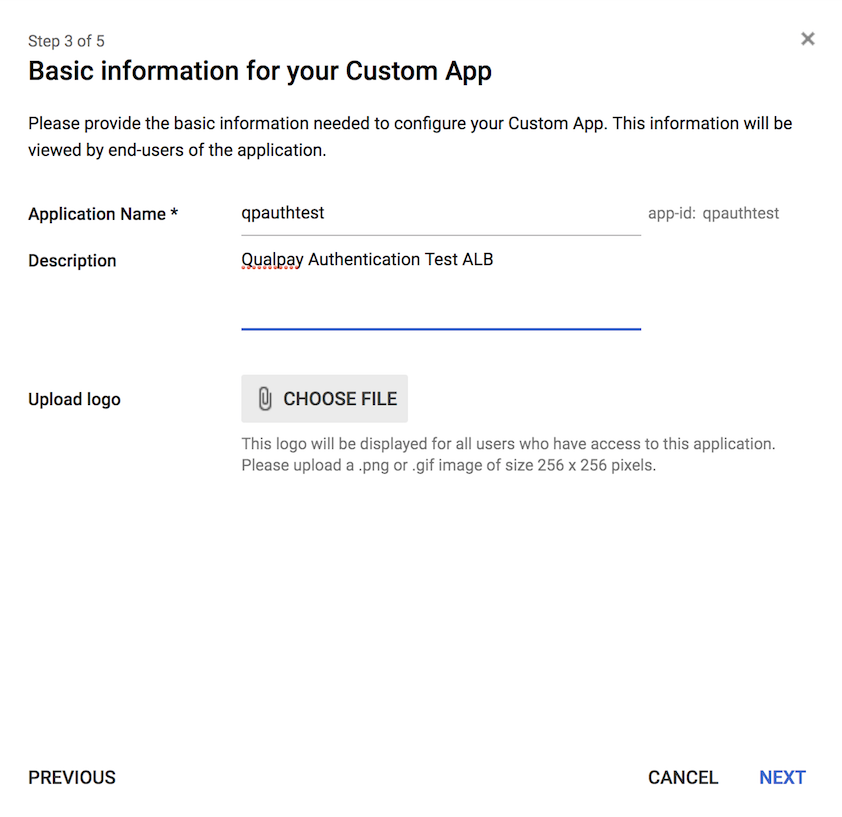
5. Give your app a descriptive name and helpful description and click "Next."
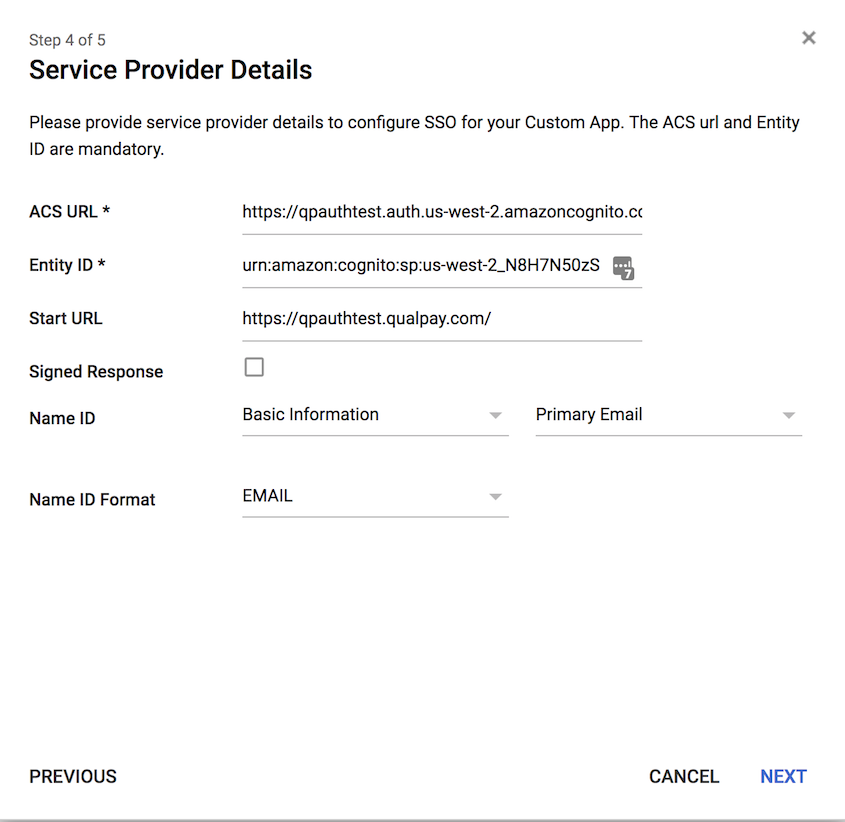
6. Fill in the following details and then click "Next.":
- ACS URL: https://YOUR_COGNITO_DOMAIN/saml2/idpresponse
- Entity ID: urn:amazon:cognito:sp:YOUR_COGNITO_USER_POOL_ID
- Start URL: https://YOUR_ALB_HOSTNAME_OR_PRIVATE_DNS/path/to/index.html
- Name ID Format: EMAIL
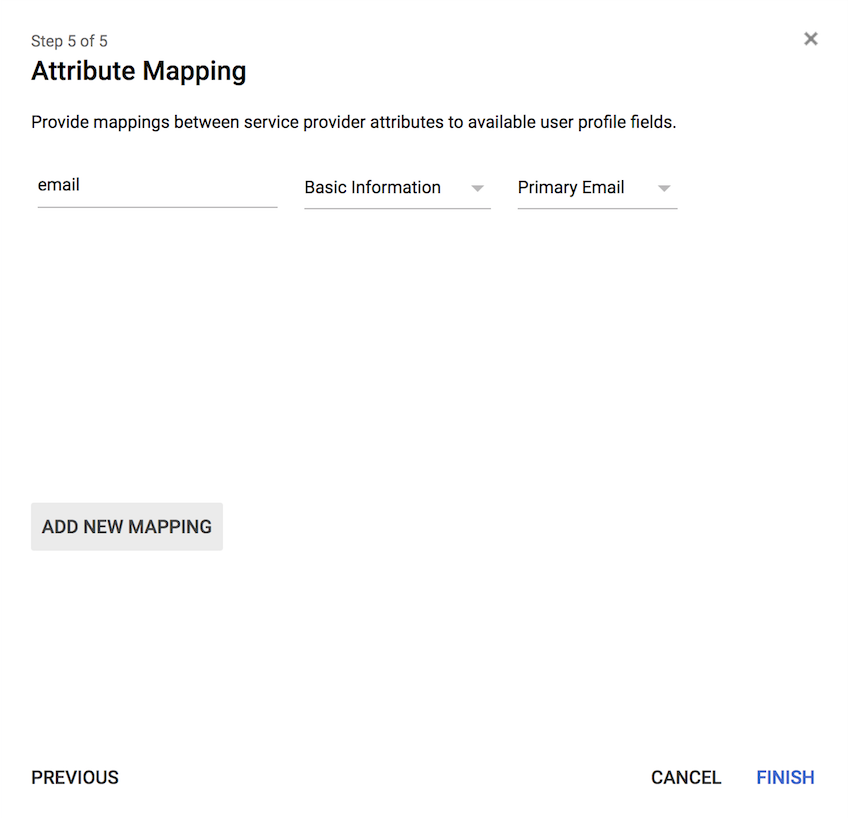
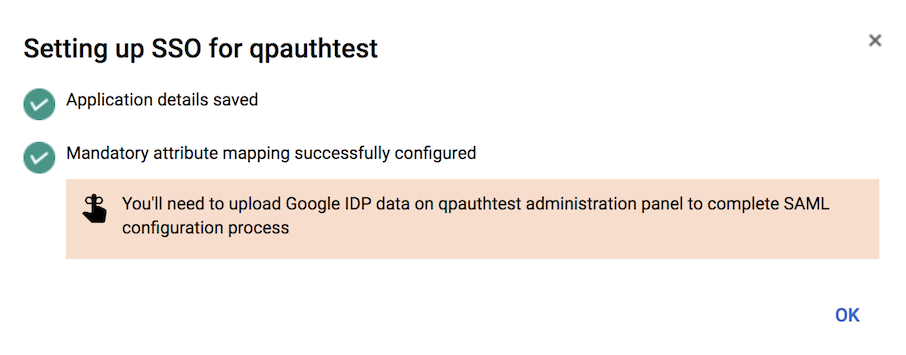
7. Click "ADD NEW MAPPING", and add a mapping for "email" with category "Basic Information" and user field "Primary Email," and then click "Finish."
8.Click "OK" to dismiss the confirmation window.
9.Click "EDIT SERVICE."
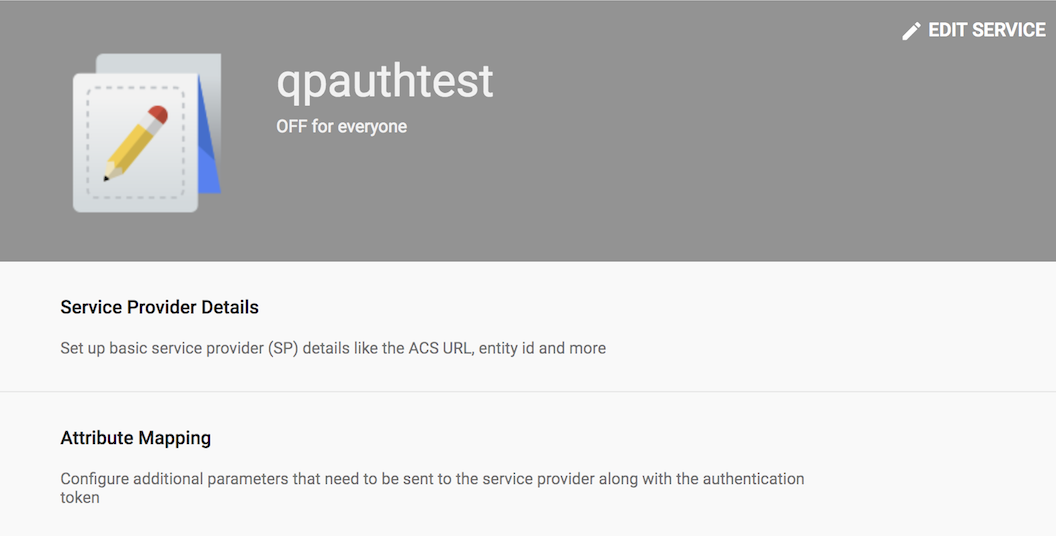
10. Select the "ON for everyone" radio button and click "SAVE."

Configure Cognito User Pool App Client Settings and Attribute using values from SAML provider
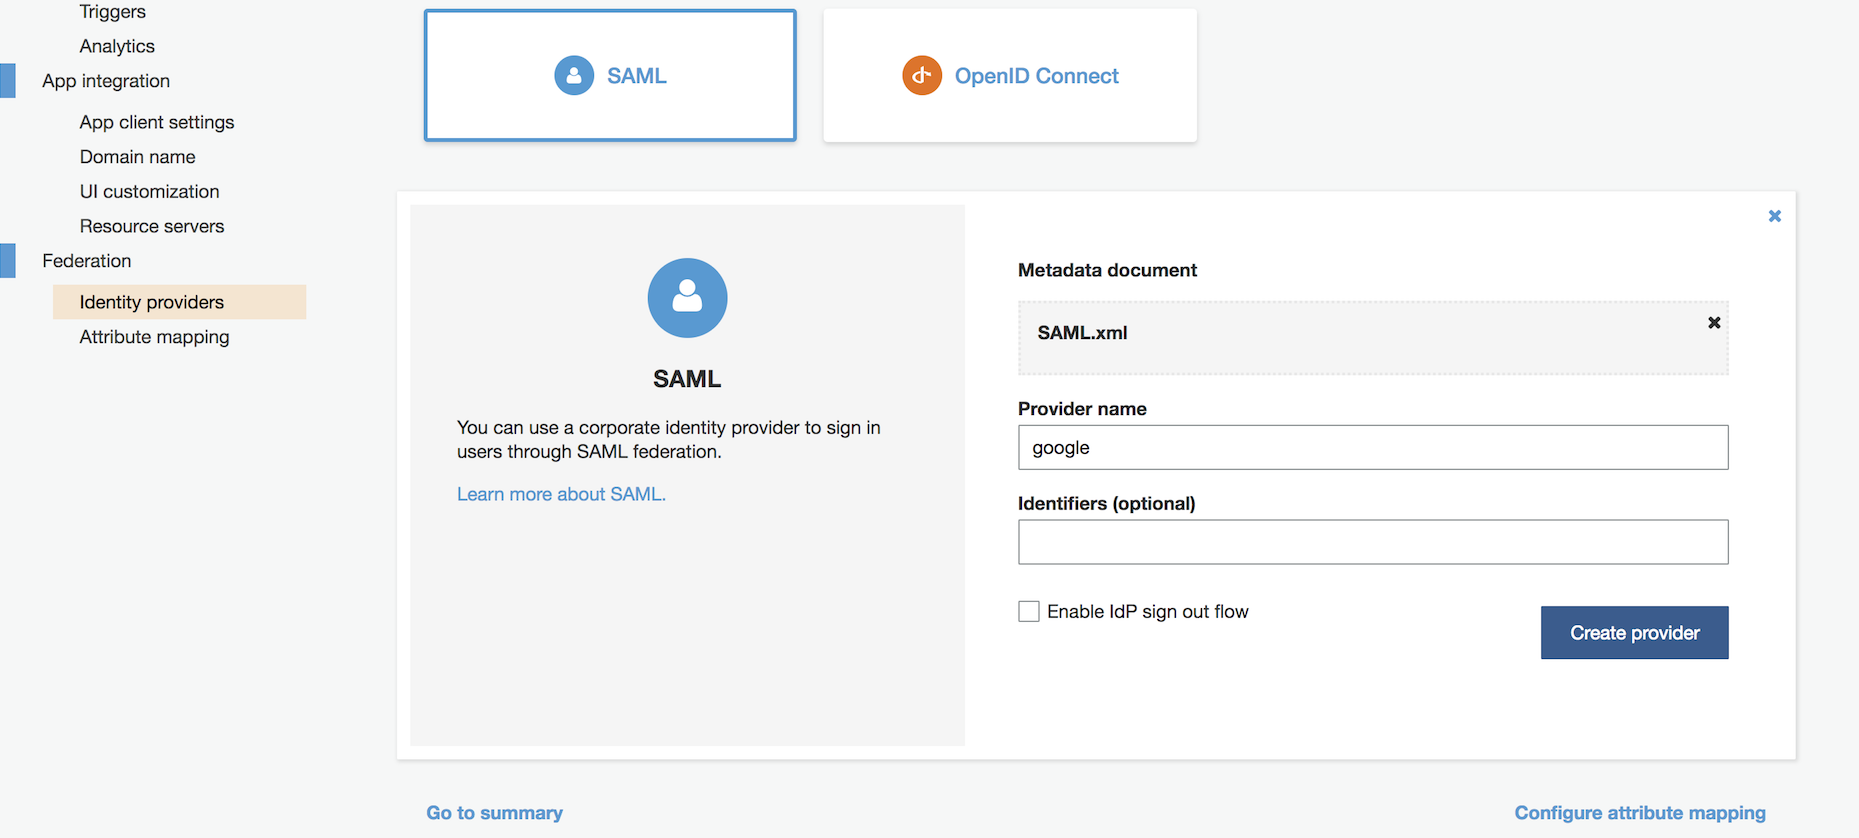
1. Back in your Cognito User pool window, under Federation, select Identity providers and then select "SAML."
2. Click "Select file," and choose the IDP metadata file you previously saved from Google.
3. Define the Provider name, and click "Create provider."
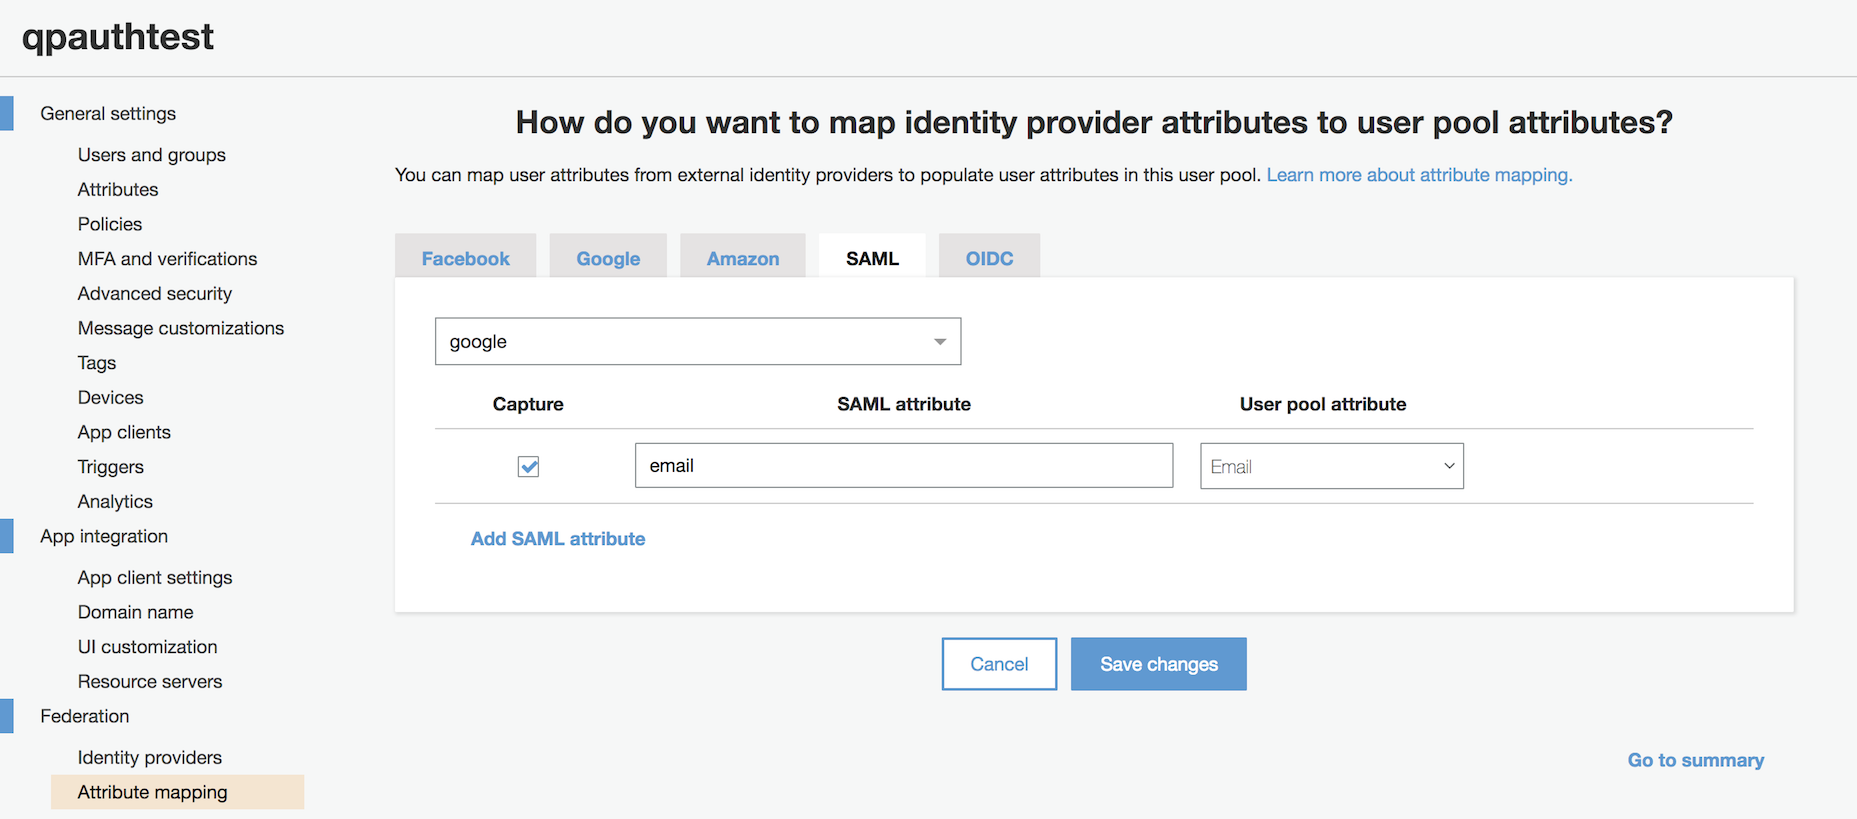
4. Under Federation, select Attribute mapping, select the SAML tab, click "Add SAML attribute," and define the SAML attribute "email" linked to User pool attribute "Email" and then click "Save changes."
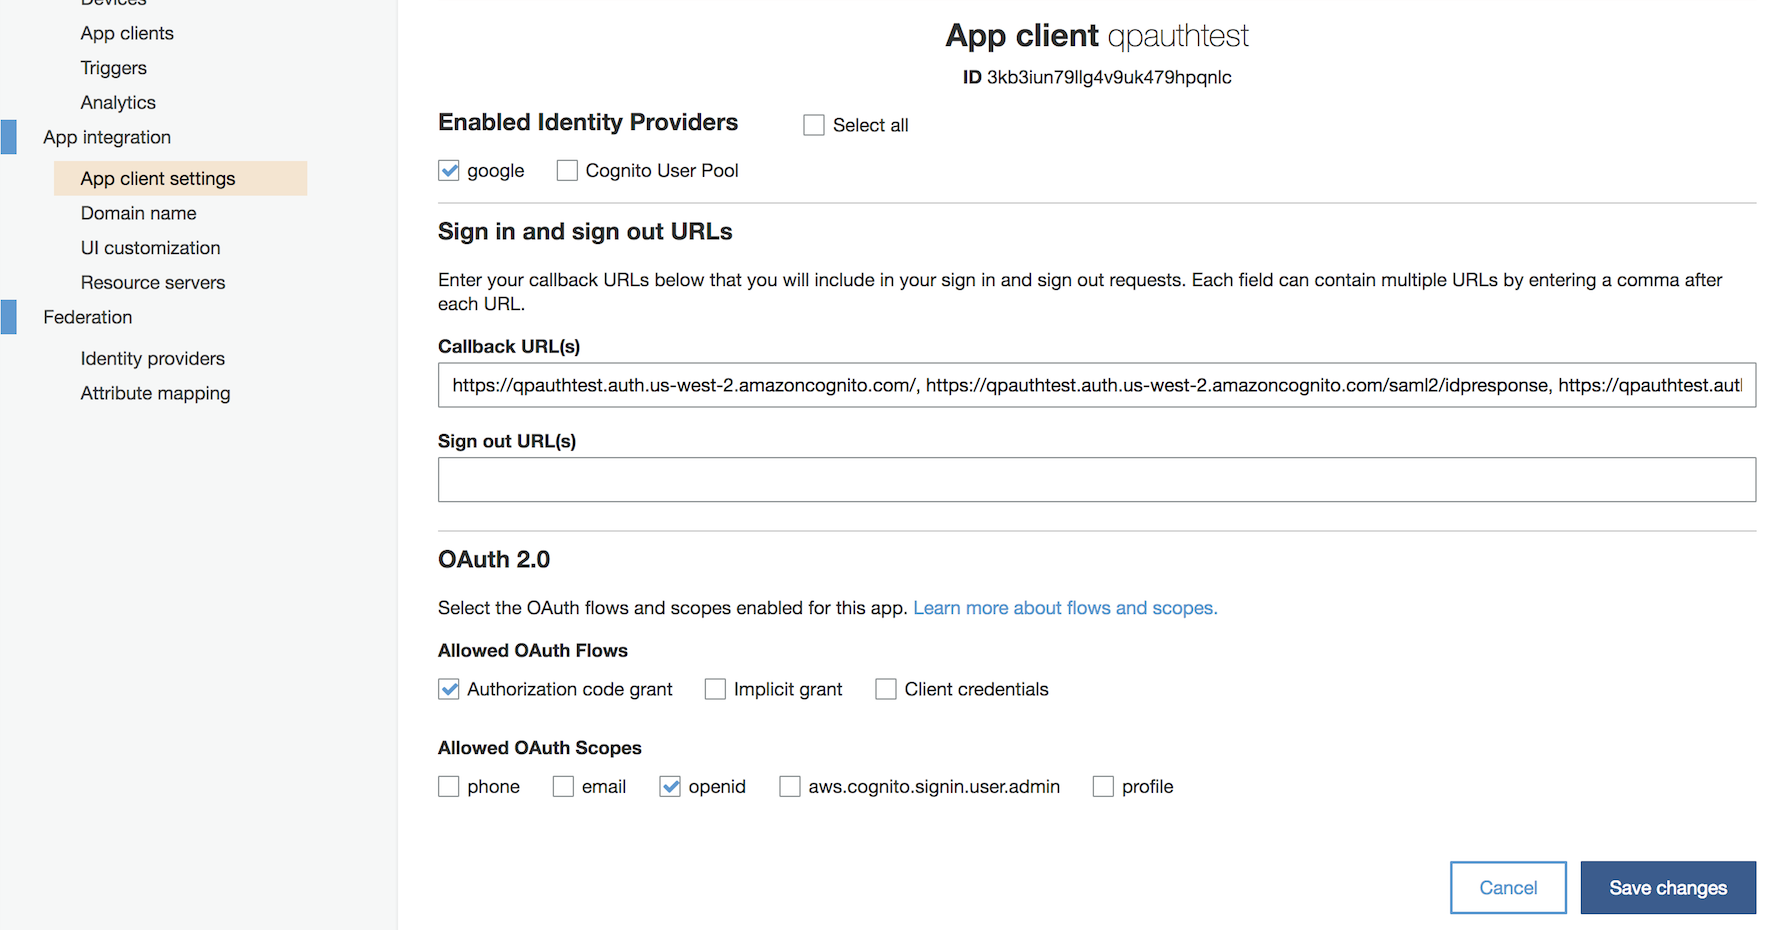
5. Under App integration, select App client settings. Select the checkbox for the SAML identity provider you just created, and then fill in the following details:
Callback URL(s):
https://YOUR_COGNITO_DOMAIN/
https://YOUR_COGNITO_DOMAIN/saml2/idpresponse
https://YOUR_COGNITO_DOMAIN/oauth2/idpresponse
https://YOUR_ALB_HOSTNAME_OR_PRIVATE_DNS/
https://YOUR_ALB_HOSTNAME_OR_PRIVATE_DNS/saml2/idpresponse
https://YOUR_ALB_HOSTNAME_OR_PRIVATE_DNS/oauth2/idpresponse
Under Allowed OAuth Flows, select the "Authorization code grant checkbox."
Under Allowed OAuth Scopes, select the "openid" checkbox.
and then click "Save changes."
You can also do some cool stuff, like format the landing page. I'm not fancy enough to go into that here, but take a look under App integration -> UI customization for more infos.
Configure Load Balancer to use Cognito User Pool
NOTE: This can only be configured for an ALB which serves https!
1. Within your load balancer listening rules, click "Add action," and select "Authenticate."
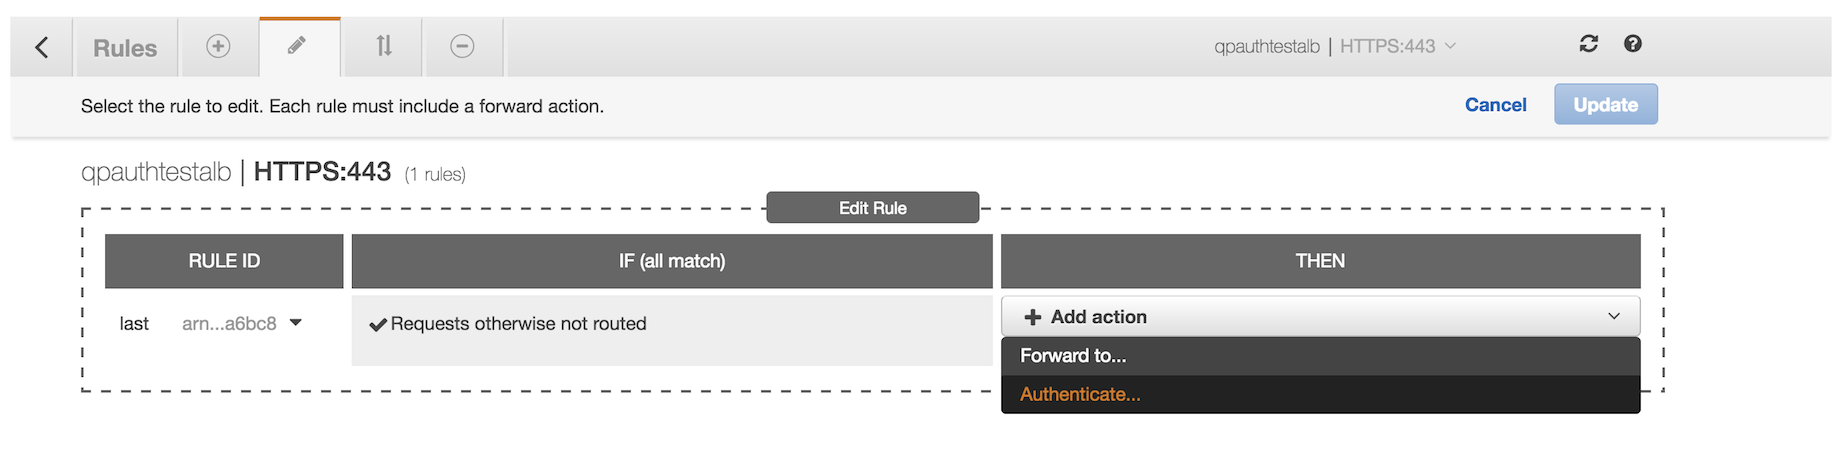
2. Select your Cognito user pool and App client from the dropdown menus, click the "CHECK" to commit the change, and then click "Update."

The rule also needs to include a Forward action, as it would normally do.
3. Now visit your ALB via https. You should be presented with a basic Google authentication screen.
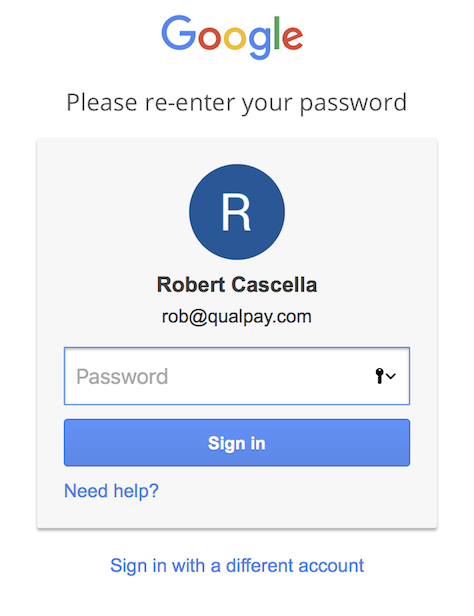
4. Authenticate as normal, and you should be dropped down to your application or website.
About Qualpay
Qualpay is a leading provider of integrated, omnichannel payment solutions. The company's cloud-based payments platform enables businesses to modernize strategically through the use of reporting intelligence to streamline the payment process. Qualpay addresses and resolves the payment challenges businesses face and ensures a stronger, more robust infrastructure for a business, developer, and partner. Simply, Qualpay enables a better way to manage payments. For more information on how Qualpay is reinventing a new era of payment processing, visit www.qualpay.com.


